Your own provider
Connect your own account with an email provider such as Amazon SES, Mailgun or Postmark.
On this page
Use this setup path to connect your own email provider account. If Mailcoach should handle sending, follow Mailcoach’s mailer instead. If you have not signed up yet, create and verify your account.
Before starting, create an account with your provider and verify the sender address or domain it requires. Some providers restrict new accounts to verified recipients until they approve wider sending.
Connect a mailer#
A mailer stores the connection to your provider. Open your account menu, go to Settings → Mailers, and click “Create mailer”. Enter a name and choose the email service.
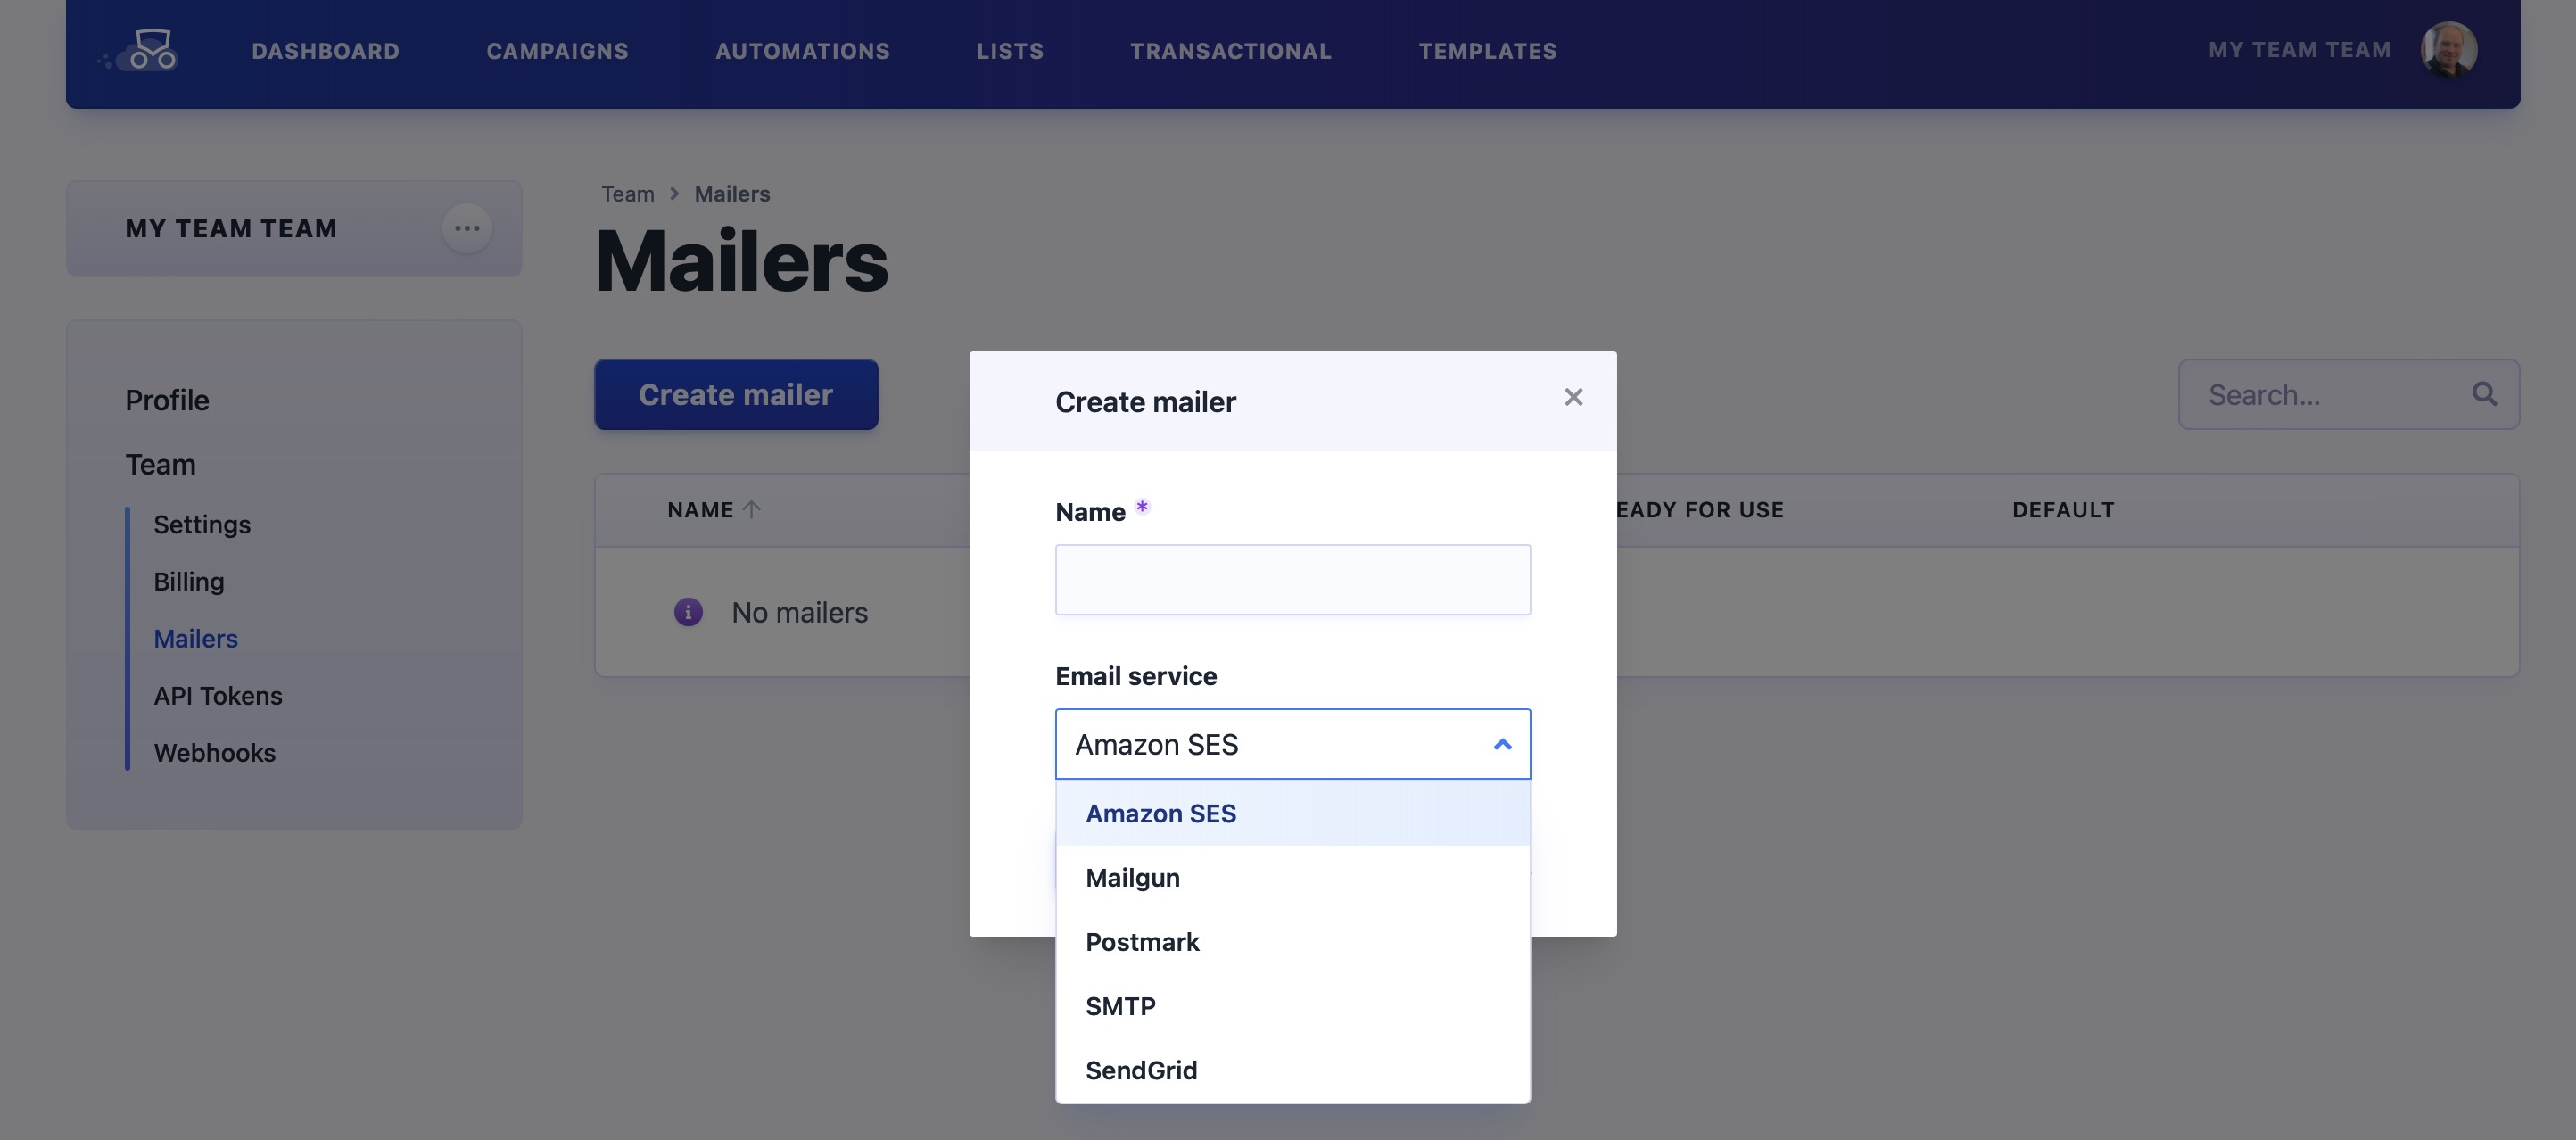
Follow that mailer’s configuration wizard. The required credentials and feedback settings differ by provider; choose your provider below. Keep API keys and secrets private.
Use the exact feedback URL the wizard supplies rather than constructing a URL yourself.
Enable the supported open and click tracking options if you want those statistics. Delivery and tracking are separate: receiving a message does not by itself prove feedback is configured correctly.
Best practices#
Follow your provider’s current setup and DNS instructions. SPF and DKIM records help prove that the provider may send for your domain. Read more about SPF and DKIM. Keep API keys and secrets private and out of version control.
SMTP#
Mailcoach also supports sending via SMTP. When using SMTP, open and click tracking will not be available.
Choose your provider#
Follow the setup instructions for your provider:
Continue to your first campaign#
Once the wizard’s checks pass, choose an editor, then follow Sending your first campaign. Use a sender your provider permits and a test list containing only your own address. You do not need to complete the managed-mailer setup too.